How do you download the mobile app?
The buttons below will take you to the mobile app download page in your provider's app store.


Once you download the Engagefully app, search "NSGC" and login using the email that is tied to your registration.
What is the difference between the virtual platform and the mobile app?
Both the virtual platform, or desktop version, and mobile app offer access to view the full schedule, ability to build out your own schedule, view the attendee list, and more. However, the mobile app is intended for in-person attendees to access the most up to date information throughout the day. The desktop version is best for those live-streaming sessions virtually. After the 43rd Annual Conference, the virtual platform will be where you go to access the select session recordings.
How do I log in and access the mobile app and virtual platform?
You should have received an email with personalized instructions on how to log in to the virtual event platform, RD Mobile, with the subject line: “Begin Your NSGC 43rd Annual Conference Experience.” If you did not receive this email, please check your spam folder. If you are unable to locate this email, please contact registration@nsgc.org.
Once you log in, we encourage you to explore update your profile settings.
I'm trying to log in but my account is not active. What should I do?
First, make sure you are using the correct email address. You must log in using the email address you used when registering for the conference.The NSGC Registration team is not able to change the email address used on the account.
After registering for the NSGC 43rd Annual Conference, you should receive an email with your authentication link to give you access to the platform, where you'll set up your password and profile. We strongly recommend setting up your account and profile before the event. If you are still not able to verify your account, please contact registration@nsgc.org.
I lost my login information, can you help me access the virtual platform?
Access the platform here, enter your email you registered with and click “Log in.” The system will then give you the option to resend yourself the login link. Once you receive the email, click to login. If you are still having problem accessing the virtual event platform, please email registration@nsgc.org.
What is the link to the virtual (desktop) event platform?
https://events.rdmobile.com/Sessions/Index/17696
TIP! Bookmark the login page for easy access to the platform.
How do I download the mobile app?
The mobile app is intended for in-person attendees to use during their time in New Orleans. To download the app, go to your app store and search for the Engagefully app, and then search for NSGC within that app. Once you find NSGC, select the 43rd Annual Conference event. When selected, you will be asked to log in – when doing so, make sure you use the email address you used when registering for the event.
You can also go back to the original invite email you received and click the link from your mobile device. Your device will automatically take you to the app.
How do I build my customized schedule?
On the mobile app
Navigate to the Schedule tab located at the bottom of your screen and select a session that you are interested in attending. On the session details page, click the calendar icon in the top right corner. If tapped correctly, the calendar icon will turn white, which means the session is now added as one of your “selected” sessions.
To view all of the sessions you’ve selected, go to the schedule tab. Click the “filters” button towards the top of the screen, click “selected” and click “apply.” This will populate all of the sessions you’ve selected in one place.
Note: on the mobile app, the Technical Agenda tab will automatically default to your selected sessions. In order to go back to view the full Technical Agenda, you will need to remove your filters. When viewing the full technical agenda, any sessions that you have selected will be marked with an orange calendar icon to the left of the session title.
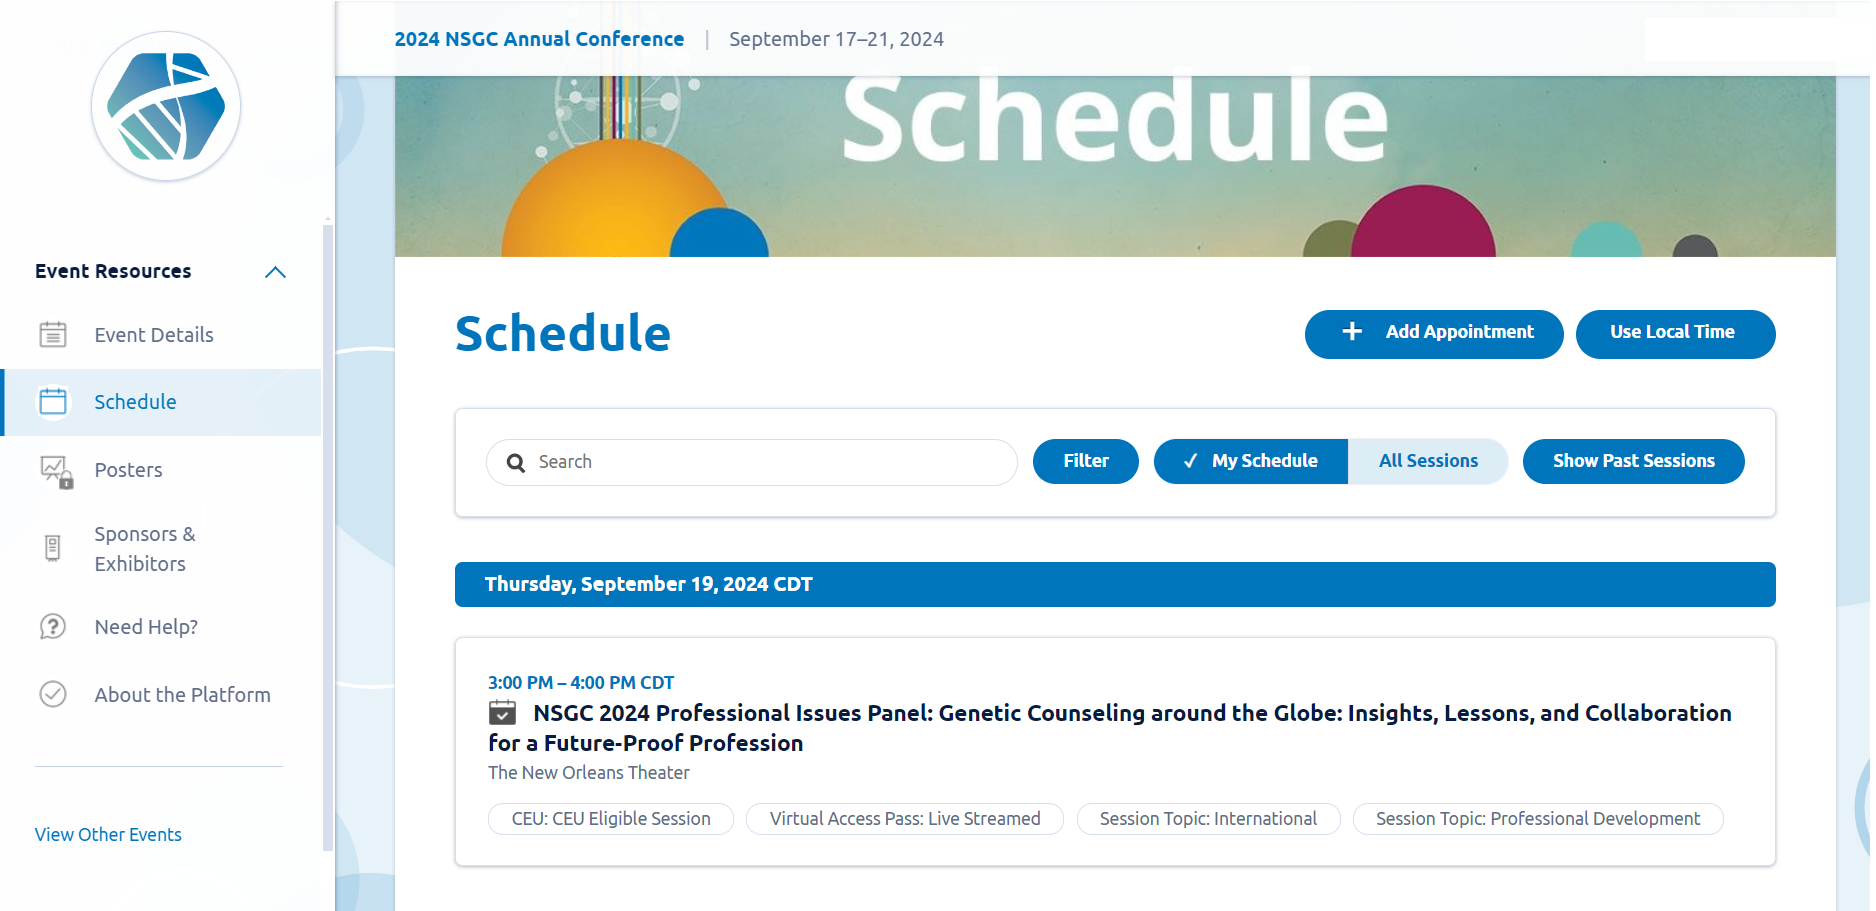
On desktop
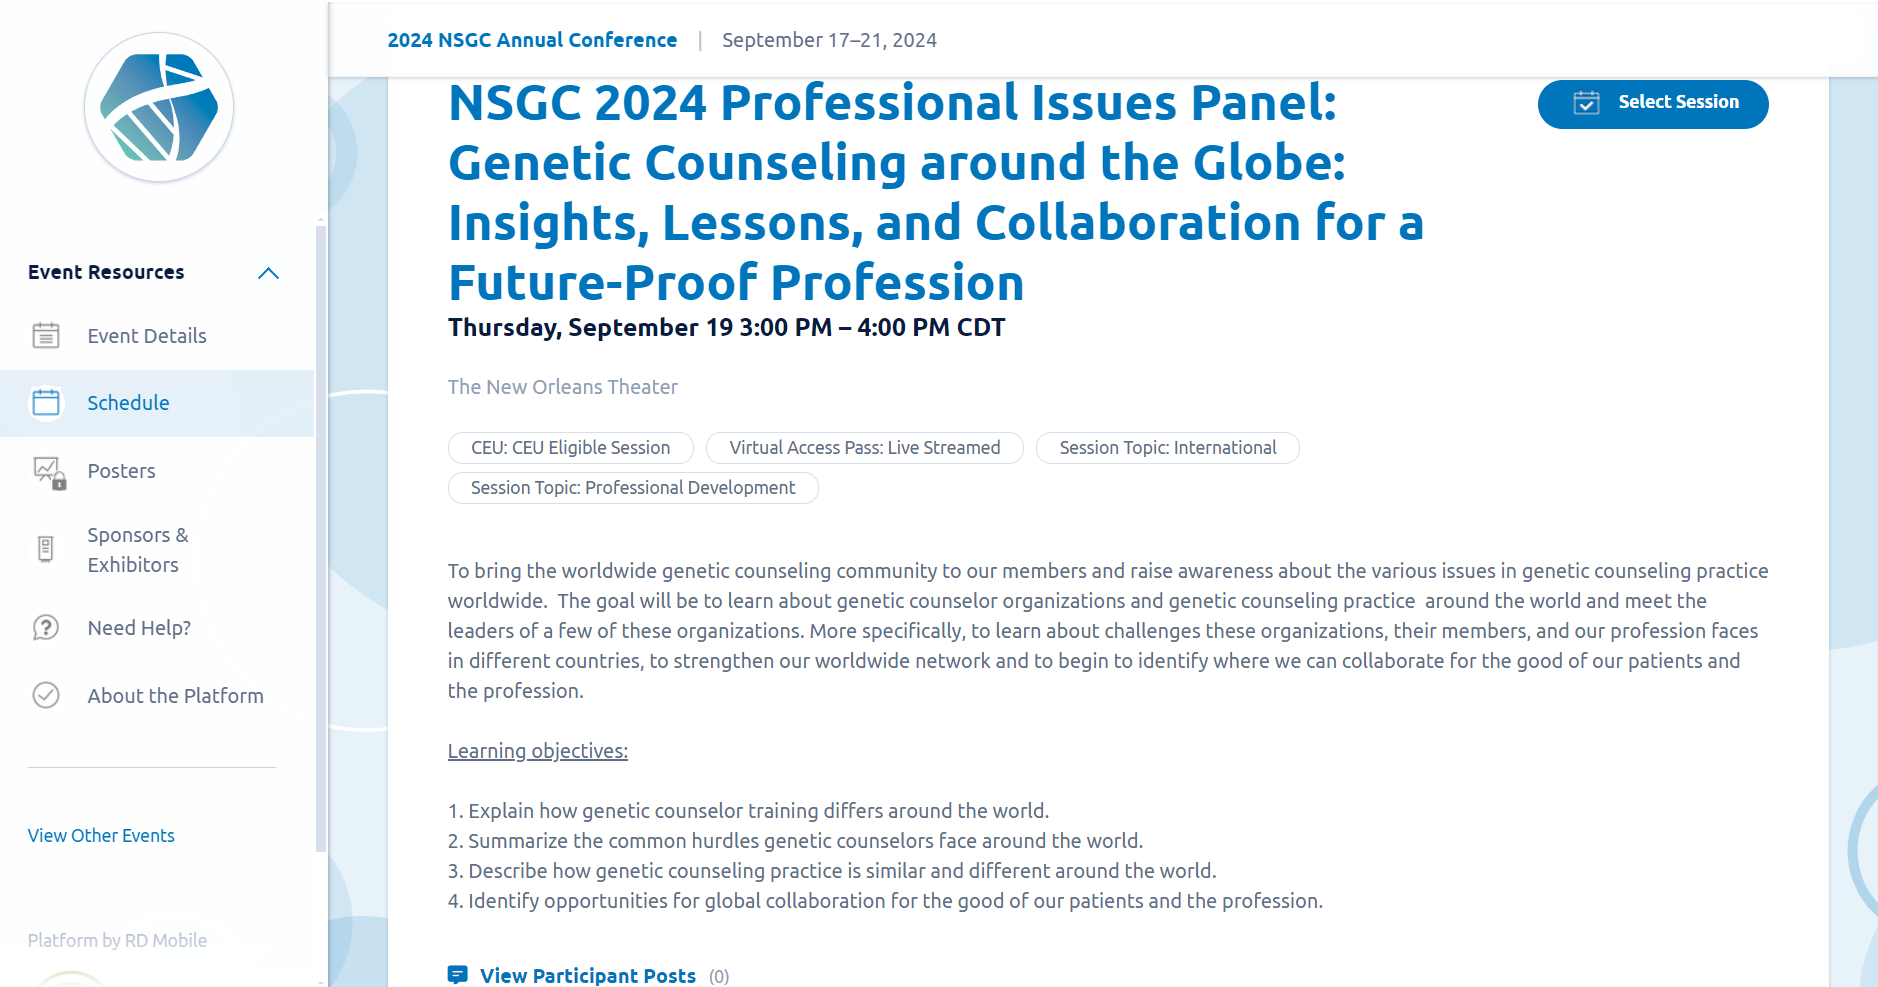
Similar to the mobile app, you will navigate to the schedule tab to the left of your screen and click into a session that you are interested in attending. On the session details page, click the blue button in the top right corner that says “Select Session.” If clicked correctly, the calendar icon will turn white, which means the session is now added as one of your “selected” sessions.
To view all of the sessions you’ve selected, go to the schedule and click “My Schedule.” This will populate all of the sessions you’ve selected in one place.
How do I export my customized agenda?
On Mobile
If you would like to export your selected sessions to save them to a personal calendar on your device, you will need to export each session individually.
Navigate to your “Selected” sessions in the Schedule tab. Click into the session that you’d like to export. Once on the session details page, click the export icon in the top right corner of your screen.
A window will pop up with options for you to select how you’d like to export the session details. In this case, click “Add to Calendar." The session details (title, time, location and description) will then populate into a calendar item for you to save.
Please note that the Schedule is subject to change. Any changes made to sessions within the Schedule will not update on your personal calendar. Please always refer back to the app for the most up-to-date information.
If you’d prefer to export a list of all your selected sessions in one place (to print or save elsewhere):
Navigate to your “Selected” sessions in the Schedule tab. From the page where you can see all of your sessions listed, click the export icon in the top right corner of your screen.
A “Share what?” window will pop up with options for you to select how you’d like to export this page. In this case, click “My Schedule”
Note: if you click "All Sessions" it will export all of the sessions in the entire Schedule. "Entire Notebook" will export any notes you took during a session within the mobile app.
Another window will pop up with options for you to select how you’d like to export your list of sessions. In this case, we suggest emailing the list to yourself so you can save or print the list as needed. See the screenshot below for an example of what the exported list of sessions will look like.
On Desktop:
Navigate to the Schedule tab and filter to “My Schedule” to populate all of your selected sessions. Once filtered correctly, simply right click and print. Note: there are no options to export sessions to your personal calendar from the desktop version. You can only do that on the mobile app.
I don’t want my information listed in the social directory. How do I manage my profile directory preferences?
On the Mobile App:
When you access the event app for the first time, or have logged out and back into the event, you will be presented with the option to configure your Directory Preferences before entering the event.
You are also able to manage your Directory Preferences after you have entered the event by following these steps:
Navigate to your profile in the app. Click the orange "Manage" button under "Event Preferences."
This will open your Directory Preferences where you can decide to:
- Appear in the social directory
- Display email in the directory
- Be available for messaging
On Desktop:
Navigate to the Directory tab and click "Directory Preferences." Here you can decide if you’d like to:
- Appear in the social directory
- Display email in the directory
- Be available for messaging
Please remember to click “Update” to save changes.